My big push is on to erect the next stage of the playset, this stage should go reasonably fast as all the preparation has already been done. I’ve already installed the additional upright that the Monkey Bars will bolt on to, the only additional item is to drill the main corner upright for bolting the left upper rail of the Monkey Bars to the Jungle Fort.

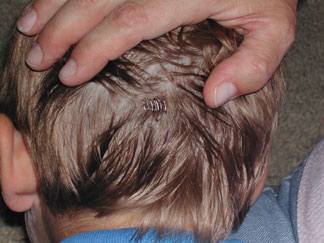
The length of the Monkey Bars from the Jungle Fort is eight feet with a height of just over seven feet. This gives a good workout for my son who just loves the Monkey Bars, even though as a three year old he had an accident that resulted in eight staple stitches being used to close up a gash in his head. This accident was the result of him trying to do the Monkey Bars at his pre-school group, he would persist in trying to get across to the other side and slipped, hitting his head on the step. Fortunately my wife was at hand to take him to the closest emergency medical center. This mishap had not phased him at all, in fact he’s more determined than ever, the very next week he was back on the bars.